Behind the Design of The Twin Bedroom + DIY Inspiration
We are so excited to be continuing this week with another behind-the-scenes glimpse at one of our favorite spaces from the 2023 Southern Living Idea House: our twin bedroom…

The best thing about our Southern Living Idea House (as a whole) is that we made sure to incorporate at least one great idea that we loved into every room. We included lots of ideas in this children’s bedroom, from custom built-in beds to DIY paneled cork walls.
My favorite moments here are the fabric wall panels (upholstered by our team!), custom built-in desks, beautiful window bench cushions with recycled Thibaut golden velvet that just glows in the afternoon sun, built-in custom day beds with deep green velvet headboards made by Tangled Threads and the lofted ceiling with a sweet, bubbled chandelier by Regina Andrew.

For the walls, we created wood framed panels and then upholstered each of them with a layer of cork and a beautiful fabric for a super functional design. The first step was to ask our trim carpenter for the Idea House to build out the framed areas for us. Then for our DIY idea we measured and cut out large pieces of 1/4” cork to fit each panel. We used a spray adhesive to adhere those cork panels to the wall and then a matching piece of fabric on top of the cork. The last step for us was to ask our trim carpenter to add a round dowel to finish the wood framed panel but you could also just trim and tuck the edges to finish the look. Now these walls can be personalized with artwork and photos or left as a lovely subtly patterned panels!
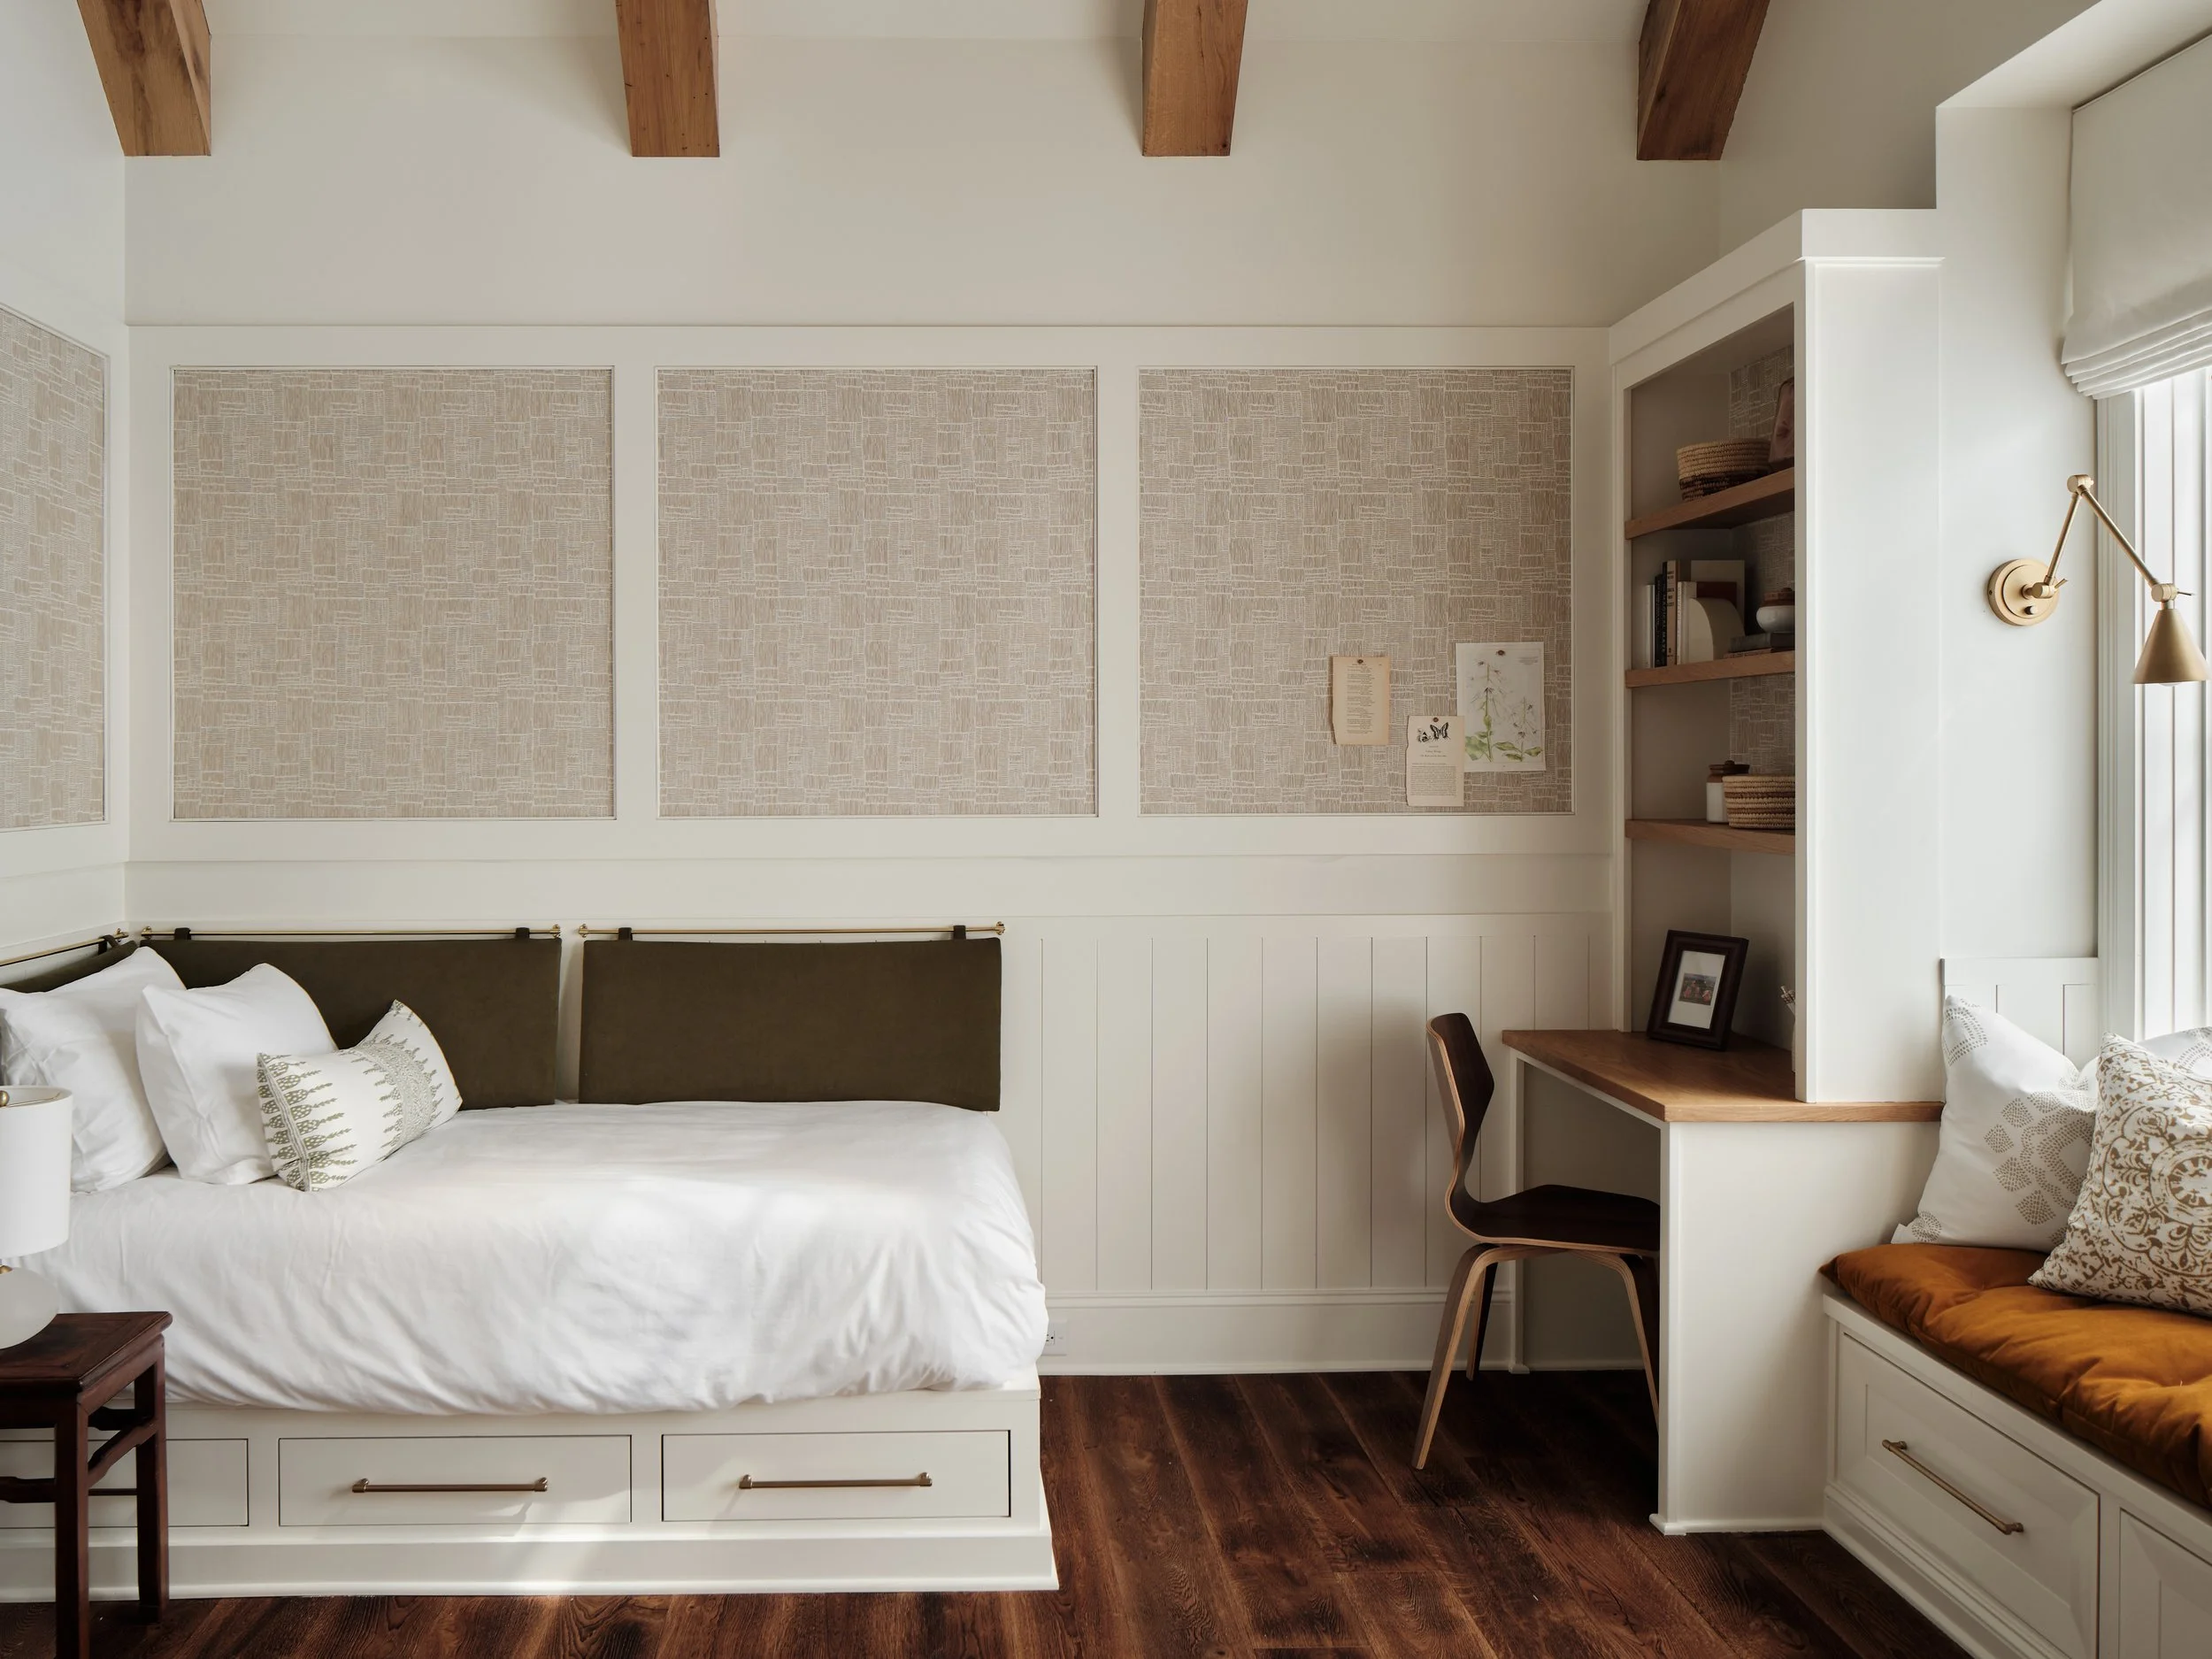
To match the upholstered wall panels, we continued the same patterned fabric behind the shelving of the built-in shelves above the desk. First, we measured and cut out the fabric to fit each wall space behind the shelves. If you have adjustable shelves that can be removed, or if you can do this before the shelves are installed, then you can just cut one piece of fabric for the entire wall area. Then we simply painted the walls with liquid starch and smoothed on each piece of fabric. Once the fabric was smooth with no wrinkles, we painted another layer of liquid starch over the fabric, continuing to smooth any wrinkles, and we used a small squeegee to press out the excess starch. The last step was to tuck and smooth the fabric edges behind the shelves and then they’re finished!
We suggest using a medium weight fabric for best results, working relatively quickly (the starch can dry fast!), use remnants to save on your budget, plan out your pattern to align from shelf to shelf and better yet, remove the shelves if you can. But most importantly, don’t worry about making a mistake – it’s completely removable so you can fix it…just have fun with it! Part of the fun of DIY projects is that there is always room for experimentation and creativity.

We hope you enjoyed this week’s behind the scenes look at the twin bedroom. Stay tuned for next week as we share a closer glimpse at the Songwriter’s Studio! As always, be sure to follow along with us on Instagram @laurahodgesstudio for all the behind-the-scenes content from our Southern Living Idea House!
xx. Laura and the LHS Team